Close

FABERtastic Fans
Lesson Plan, Grades 5-12, Science, Art, Crafts, Mixed Media

Description
Lesson Plan and Artwork by Mary Reilly
Hand fans date back over 3000 years with the earliest versions found in Egyptian Pharaoh’s tombs. They were designed to be both functional and ceremonial. Their main function was to cool the body’s surface but as their construction evolved from natural materials fans gave us a surface to be painted, stitched and gilded. In addition to being objects of art, fans have been used for storytelling, political and social messaging, advertising and sports support. Fans have a flirtatious language all their own. In this lesson plan students will design and construct a flat fan.
Objectives
- Teachers and students will study and discuss the history of hand fans and the science behind their ability to cool the body’s surface.
- Students will design and construct a flat hand fan.
- Students will explore different ways to embellish the surface of a flat fan using an assortment of mediums.
- Students will select a theme/message for their hand fans.
Supplies Needed
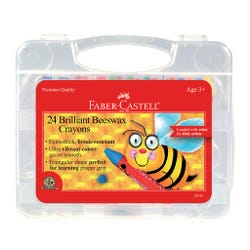
Faber-Castell® Beeswax Crayons, Set of 24 (Kit includes 4 sets)
Faber-Castell® Gel Crayons, Set of 12 (Kit includes 4 sets)
Faber-Castell® MAX Colored Pencils, Set of 12 (Kit includes 4 sets)
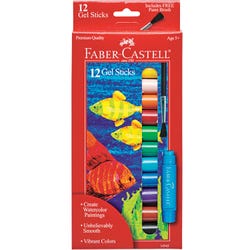
Faber-Castell® Gel Sticks, Set of 12 (Kit includes 4 sets)
Sax® White Sulphite Drawing Paper, 90lbs, 9" x 12", Pack of 500
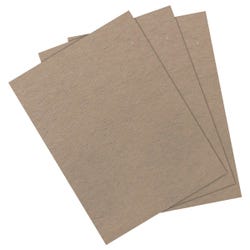
School Smart® Newsboard, 12" x 18", Pack of 24
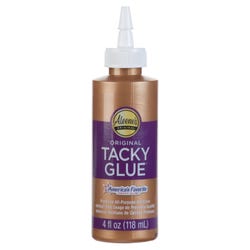
Elmer’s® Craftbond Tacky Glue, 8 oz. (Kit includes 4 sets)
School Smart® Natural Jumbo Craft Sticks, 6" x ¾", Pack of 500
Amaco® Cloud Clay® Classroom Pack, Assorted Colors, 3 lbs. (Kit includes 2 packs)
Fiskars® Amplify 8" Craft Shears
*Here are the supplies needed for this lesson plan for reference. Find a convenient carousel of shoppable products for this lesson below.
Standards
Standard #1: Generate and conceptualize artistic ideas and work.
Standard #2: Organize and develop artistic ideas and work.
Standard #4: Select, analyze and interpret artistic work for presentation.
Standard #6: Convey meaning through the presentation of artistic work.
Standard #10: Synthesize and relate knowledge and personal experiences to make art.
Standard #11: Relate artistic ideas and works with societal, cultural and historical context to deepen understanding.
Instructions
1
Show and discuss with students how a hand or paddle fan is constructed. Talk about the proportions of the fan face to the handle and the need for balance in their design and construction.
2
Using a 12" x 18" piece of paper students will sketch the shape of their fan. The fan will be made up of the entire fan shape as designed, the face unit and the combined yoke and handle unit. The fans featured in this plan measure 13" from top to bottom. The fan face at its widest is 8 ¾", the fan yoke at its widest is 6 ¼" and the handle measures 7" from the top of the yoke to the bottom of the handle.
3
After the shape is finalized the student will make separate templates for each of the fan elements; the complete fan unit, the face unit and the yoke and handle unit.
4
Trace the complete fan shape and two yoke and handle units on Newsboard. Cut out the complete fan shape. This will be the base unit for construction of the fan. Cut out two yoke and handle units. Set these two units aside until later.
5
Students will glue one jumbo craft stick on each side of the handle of the base fan shape. The sticks need to touch the bottom of the handle and extend into the yoke. This becomes the internal structure of the fan and will keep the fan from bending at the handle connection point. Clamp the craft sticks in placed and leave to dry.
6
Using the cut yoke and handle units, glue one of each on top of the craft sticks on either side of the handle of the base fan shape. (These will hide the internal support pieces and give additional weight to the bottom of the fan.) Clamp and leave to dry.
7
Use the drying time to discuss with students how they will approach the design of their fan faces. They will have two sides in which to get across their message or idea. Give them time to sketch out their final ideas. Allow time for students to experiment with the products.
8
Display the student’s fans. Have students talk about the meaning behind their fan designs and the techniques used to accomplish their designs.
9
Distribute two sheets of the 9" x 12" 90lb white drawing paper. This paper weight will allow students to successfully use all the mediums including the water soluble markers and crayons. Students can now create their final designs. Once done they can use the face template to cut out the final fan faces. When cut glue fan faces to fan base and clamp or weigh down until glue dries.
10
Distribute pieces of Model Magic to cover the yoke and handle. The clay can be pressed onto the Newsboard and will dry in place without glue. While the clay is wet, student can embellish with textures, beads and handmade decorations. Allow to dry overnight.
11
Display the student’s fans. Have students talk about the meaning behind their fan designs and the techniques used to accomplish their designs.
Extension: European and Asian nobility created a form of etiquette or sign language to be used with their fans. Have students research the language of fans. Have them demonstrate this language in class or have them create a fan language of their own.