Close

Creative Collage
Lesson Plan, Grades 5-12, Art, Art History, Collage, Printmaking
.jpg)
Description
Lesson Plan and Artwork by Ed Leary
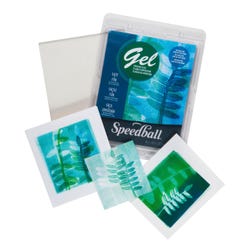
The Speedball® Gel Printing Plate was designed for use with multiple printmaking products. The plate is manufactured to possess a low profile that allows for greater detail, is dual sided, reusable and easy to clean. The term "monotype" is used for work developed on top of an unaltered surface. The collage in this lesson is a print of composed, various thin materials glued to printmaking paper.
Objectives
- Students will learn the process of producing a Monotype print, using a gel printing plate and block printing inks.
Supplies Needed
Speedball® Gel Printing Plate, 8" x 10"
Speedball® Arnhem 1618 Printmaking Paper, White, 90 lb., 81/2" x 11", Pack of 100
Black Ink Block Printing Paper, Assorted Colors, 9" x 12", Pack of 45
Akua Water Soluble Monotype Ink, Jet Black, 4 oz.
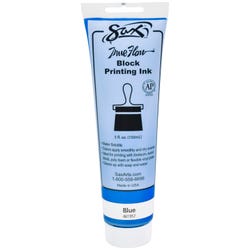
Akua Water Soluble Monotype Ink, Phatlo Blue, 4 oz.
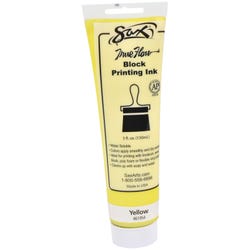
Akua Water Soluble Monotype Ink, Hansa Yellow, 4 oz.
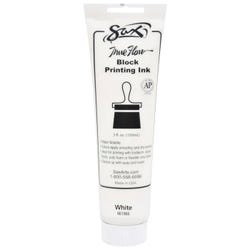
Akua Water Soluble Monotype Ink, Titanium White, 4 oz.
Akua Modifier Extender, 4 oz.
Akua Steel/Plastic Needle Applicators, 3 tips, 1 oz., 5 Bottles/set
Colour Shapers, Rubber Tipped, 5 Shapers/set
*Here are the supplies needed for this lesson plan for reference. Find a convenient carousel of shoppable products for this lesson below.
Standards
Standard #1: Generate and conceptualize artistic ideas and work.
Standard #2: Organize and develop artistic ideas and work.
Standard #4: Analyze, interpret, and select artistic work for presentation.
Standard #8: Interpret intent and meaning in artistic work.
Standard #10: Synthesize and relate knowledge and personal experiences to make art.
Instructions
1
Discuss and demonstrate the differences between a monoprint and a monotype. (A monotype is also known as a "Painter's Print")
2
Demonstrate the process of making a collage and, when combined with a gel plate, produces a unique final print.
3
Demonstrate and explore applying the block printing ink onto the gel plate, focusing on application, layering, different tools (brayers).
4
Roll up a base color onto the gel plate with a soft rubber brayer. Notes: A small amount of block printing ink will usually cover the entire plate. Add additional colors to create a design.
5
Begin to create your plate design by applying additional block printing ink colors with a paintbrush, mark-making with tools (cotton swabs are excellent for this), and/or adding found objects (stencils, string, items from nature, etc.).
6
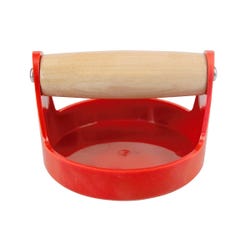
Once you have finished creating the image on the plate, register and place block printing paper onto the Gel Printing Plate. Once positioned, use a baren to rub across the back of the paper, applying an even amount of pressure to all areas. Next, remove paper from plate and allow to dry.
7
Using roll-on glue, craft glue, or thin collage paste, adhere the block ink printing paper to a sheet of printmaking paper. Using the same adhesive, add variety of other collage elements (e.g. paper, burlap, thread, etc.). Once all artifacts have been added, allow time to dry.
8
Curate the final print with pencil: Title and edition number bottom left, name, date on bottom right.