Close

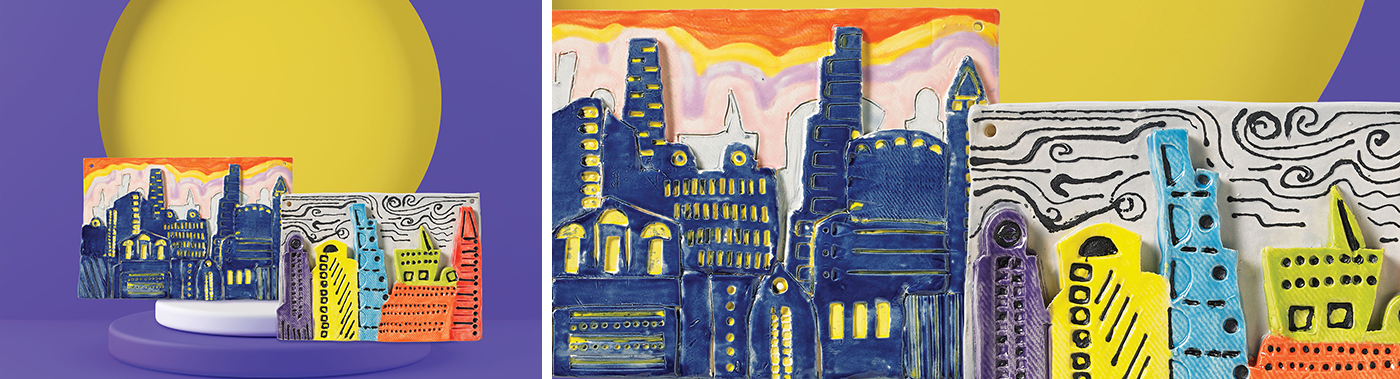
City Skyline Silhouette
Lesson Plan, Grades 4-12, Art, Social Studies, Math, Ceramics & Sculptures
Description
Lesson Plan and Artwork by Eric Orr
We learn early in our art education that the horizon line is an imaginary line where the sky meets the ground. A skyline is the imaginary line in a city where the sky meets the building tops. We can see this division of space even more dramatically when the sky is light and buildings darken such as at sunset or sunrise. This is called a silhouette.
Objectives
- Observe and identify what a city skyline is.
- Identify and name basic building shapes and forms.
- Create a slab clay relief tile depicting a real or imaginary city skyline or silhouette.
- Use various tools to texture the city buildings and add detail.
Supplies Needed
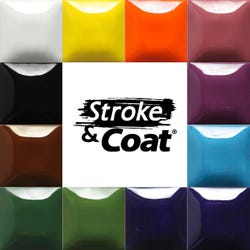
Mayco® Stroke & Coat® Wonderglaze, Assorted Colors, 2 oz. Bottles, Set of 12
Mayco® Designer Liner Kit, 1 1/4 oz. bottles, Assorted Colors, Set of 8
Sax® Low-fire, Moist Earthenware Clay, Cream White, 50 lbs.
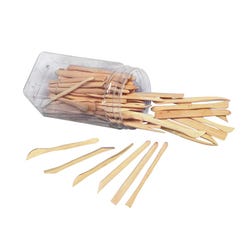
Sax® Boxwood Modeling Tool Set, Assorted Tools, 6", Set of 72Clay Slabmaking Kit
Jack Richeson® Hole Cutting Hardwood Clay Tool Set, Assorted Sizes, Set of 4
Kemper Fettling Knife, 4 1/2" long
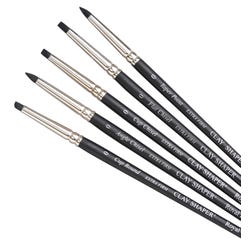
Color Shapers Small Clay Modeling Tool Set, Black, Size 0, Set of 5
Royal & Langnickel® Ceramic Glaze Brush Value Pack, Assorted Sizes, Pack of 16
*Here are the supplies needed for this lesson plan for reference. Find a convenient carousel of shoppable products for this lesson below.
Standards
Creating
Anchor Standard #1: Generate and conceptualize artistic ideas and work.
Anchor Standard #3: Refine and complete artistic work.
Presenting
Anchor Standard #5: Develop and refine artistic work for presentation.
Connecting
Anchor Standard #10: Synthesize and relate knowledge and personal experiences to art.
Instructions
1
Fold a 9"x 12" piece of paper in half. On this 6"x 9" sheet, draw a city skyline, real or imaginary. Make the buildings different geometric shapes and sizes.
2
Roll out two pounds of clay into a 1/4" slab. Place drawing on the slab and trim around the edge making a 6"x 9" rectangle.
3
Place the drawing back on the slab and, using a ball point pen, draw gently but firmly enough to transfer lines onto the clay slab.
4
Cut out the city buildings on the skyline only. Keep the buildings moist and soft.
5
Roll out another ball of clay from your wedged trimmings and make another 6"x 9" rectangle. Roll 1/8" to 1/4" thickness.
6
Place city clay shape onto new background rectangle. Gently draw over again, but only the skyline. Score and slip the back of the city and the front of the new rectangle below your drawn skyline and press together. Be sure to gently press out any air bubbles. You now have a raised city of buildings on top of a flat background tile with the sky showing.
7
Using various tools, draw and press into city buildings architectural details: Windows, edges, shapes etc.
8
Draw details into sky if you wish: Clouds, birds, airplanes, stars etc.
9
Allow tile to slowly dry between newspaper and sheetrock layers. Fire only when dry to cone 04,(1949 degrees F.)
10
Glaze city and sky with Mayco Stroke and Coat glaze.
11
Details and linear items may be accented with Mayco Designer Liner.
12
Clean any glaze off relief tile back and fire to cone 05, (1888 degrees F.)