Close

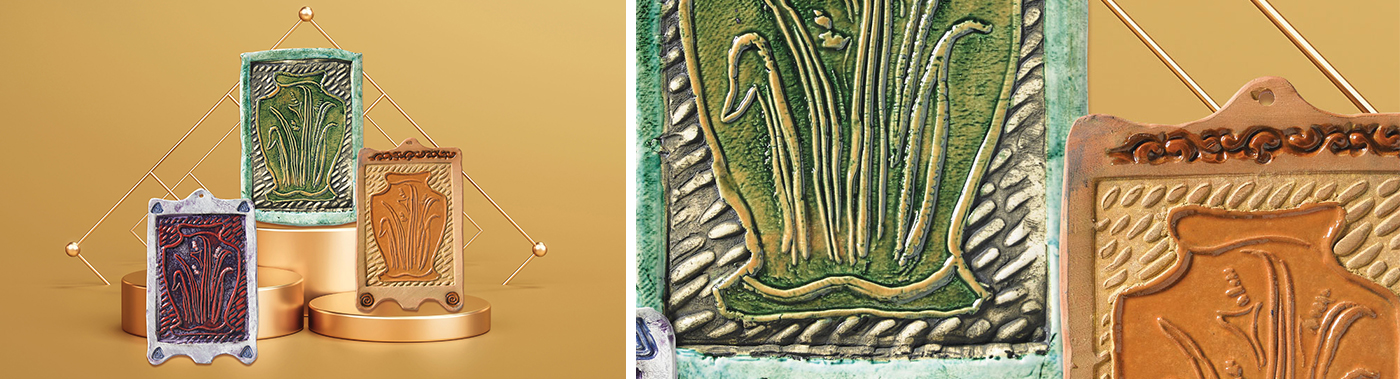
Arts and Crafts Movement: Impressed Tile Relief
Lesson Plan, Grades 7-12, Art, Social Studies, Ceramics & Sculptures
Description
Lesson Plan & Artwork by Eric Orr
The Arts and Crafts movement began in England and became popular in America in the early 1900s. An artistic reaction to the uniformity of the industrial revolution and mass production of items, artists sought to make work with a handcrafted look. Artwork in jewelry, furniture, stained glass, printmaking and especially ceramics reflected the Arts and Crafts movement's desire for simple, clean and modern lines, and was often influenced by nature, notably Frank Lloyd Wright's Chicago architecture.
Objectives
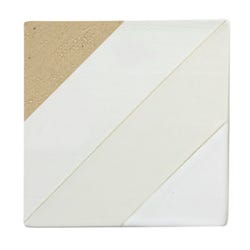
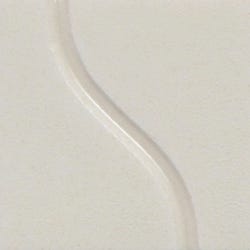
- Create a clay tile with the impression of a decorated pot as its subject.
- Plan and carve a linoleum printing block to press into their soft clay tile.
- Students will border their tile with simple clay shapes and textures.
- The printmaking aspect will allow students to create multiple tiles with various glaze colors, thus joining ceramics with printmaking.
Supplies Needed
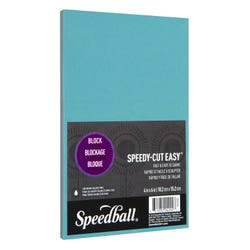
Speedball® Linoleum Block, 5"x7"
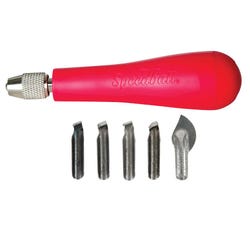
Speedball® Linozip Adjustable Pull Type Cutter Set, No. 37, Set of 5
Speedball Easy-Cut Block, 4"x6"
Clay Slabmaking Complete Kit
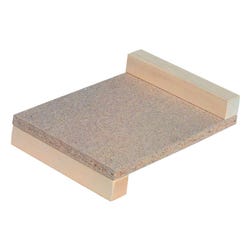
Jack Richeson® Linoleum/Wood Block Stop
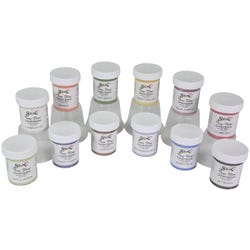
Sax® True Flow Clear Gloss Glaze, 1 Gallon
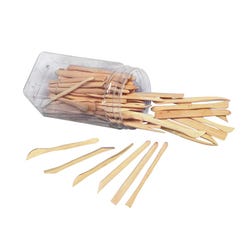
Sax® Boxwood Modeling Tool Set, Assorted Tools, Set of 72
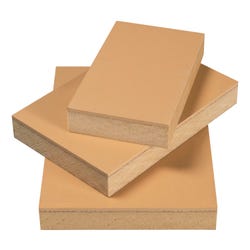
Sax® Low-fire, Moist Earthenware Clay, Cream White, 50 lbs
Hole Cutting Hardwood Clay Tool Set, Assorted Sizes, Set of 4
Economy Foam Brayer
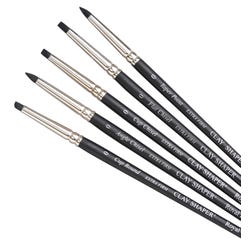
Color Shapers Small Clay Modeling Tool Set, Black, Size 0, Set of 5
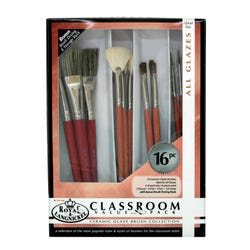
Royal & Langnickel® Ceramic Glaze Brush Value Pack, Assorted Sizes, Pack of 16
*Here are the supplies needed for this lesson plan for reference. Find a convenient carousel of shoppable products for this lesson below.
Standards
Creating
Anchor Standard #1: Generate and conceptualize artistic ideas and work.
Anchor Standard #3: Refine and complete artistic work.
Presenting
Anchor Standard #5: Develop and refine artistic work for presentation.
Connecting
Anchor Standard #10: Synthesize and relate knowledge and personal experiences to art.
Instructions
1
Decide on a simple 3-D pot form and translate it into a 2-D shape. Draw it on paper to fit linoleum or easy-cut block. A good size is 4" x 5" or 4" x 6".
2
In order to transfer lino cut material to clay, it is best to have it mounted to plywood or a sturdy backing.
3
Transfer pot sketch to carving material with carbon paper and a ball point pen.
4
Using linoleum cutting blades and handle, carve pot design into linoleum. Be sure to use a table hook and keep hands behind cutter, and push tool away from hands and body.
5
When printing plate is finished, roll out 1 1/2 lbs. of white or terra cotta clay with roller and guide sticks to about a 5/16" rectangular slab.
6
Make a tagboard template and cut clay slab into a tile BIGGER than your printing plate to allow you to create a decorative border.
7
Don't forget a hole if you plan to hang your tile.
8
Allow trimmed, bordered slab of clay to dry a bit and place face up on canvas. Center printing block carving down on clay slab and roll over the back of the block firmly with rolling pin to transfer carved pot design onto clay tile. A few whacks with a rubber mallet may be needed. If block sticks to clay, dust printing plate lightly with baby powder, or allow tile to dry a bit more.
9
Dry tiles slowly between layers of newspaper and sheetrock.
10
Bisque fire dry tiles to cone 04 (1949 degrees F.)
11
Glaze and refire to recommended glaze temperature.