Close

ArtEmboss Tiffany Style Black Starburst Book
Lesson Plan, Grades 7-12, Art, Math, Science, History, Sax
Description
Students will create embossed designed covers of a black starburst book with a leaded line look reminiscent of Louis Comfort Tiffany's stained glass windows.
Objectives
- Students will study the Art Nouveau Movement, particularly the work of Louis Comfort Tiffany, and will understand the use of nature formsin his work and the work of others.
- Students will understand the process of stained glass through this lesson and will emulate it through the use of the ArtEmboss material.
- Students will use the principles of organization and balance in their work.
- Students will practice simple forms of origami, using math concepts, to form this book.
Supplies Needed
ArtEmboss Matte Black Aluminum Sheets, 9-1/4" x 12"
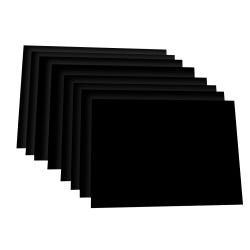
Sax Colored Art Paper, 50-Sheet Pkg., 12" x 18", Black
Crayola Metallic Colored Pencils, Set of 8
Faber-Castell Metallic Colored Pencils, 12-Color Set
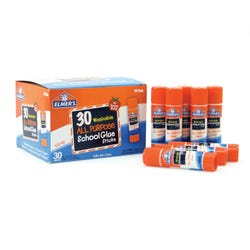
Elmer's Classroom Pack of Glue Sticks, .24-Oz. Tubes Pkg. of 30
Sax True Flow Multimedia Varnish, Quart
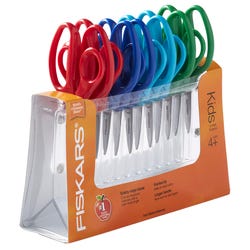
Fiskars for Kids, Pointed, Pkg. of 12
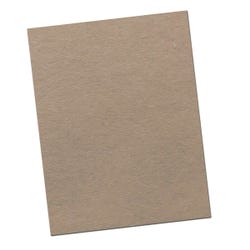
Gray Chipboard, 26" x 38", 16-Ply, 10-Sheet Pkg.
Ten Seconds Studio Mat Set, 3-Piece Set
Two 3" squares of chipboard for the covers
Three 6" squares of black Sax Colored Paper for the pages.
Two 4-1/2" pieces of ArtEmboss as the covers of the book Dull Metallic Pencils, to work color into the ArtEmboss.
Standards
Standard #1: Understanding and applying media, techniques and processes.
Standard #3: Choosing and evaluating a range of subject matter, symbols and ideas.
Standard #6: Making connections between visual arts and other disciplines.
Instructions
1
Give a brief history of Louis Comfort Tiffany and his leaded, stained glass windows during the Art Nouveau Movement. Stress how Tiffany used forms from nature to create his art work in glass.
2
Demonstrate embossing the ArtEmboss with dull pencils on a padded surface. Create sections of color on the ArtEmboss,leaving black lines in between to simulate a leaded look.
3
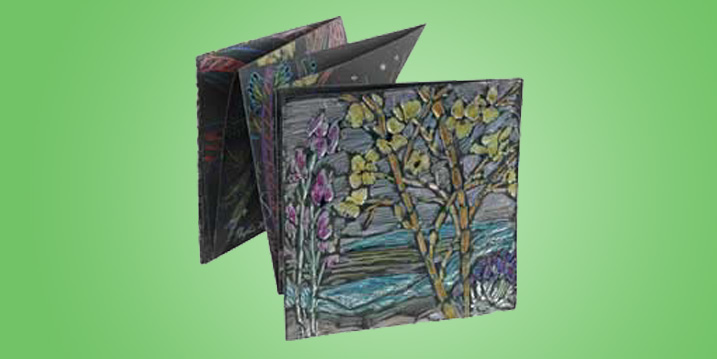
Show an example of the starburst fold book that the students will be creating and explain that the covers will have the leaded-line look design. (See "Starburst Book" in Making Books that Fly, Fold...).
4
Take three pieces of the 6" square black paper. Fold each square in half vertically. Open it and fold in half horizontally, so that it is divided into quarters.
5
Open and turn each paper over. Fold each piece of black paper once diagonally. Lay the paper in your hand with the diagonal crease up and push the center down with your finger tip. This will cause the four corners of the paper to pop up. Bring all four corners together. Squeeze and then flatten into a 3" square. Crease all lines firmly. Repeat for each square. Set aside.
6
Take a piece of ArtEmboss product and lay it on an embossing pad. Using your dull metallic pencils, create a design with shapes, using nature forms as inspiration or use the Ten Seconds Studio Mats. Leave black lines between colors. For each color shape, apply the dull metallic pencil gently, evenly, and repeatedly over the whole shape so that the foil becomes slightly dented in that color area. Color additional shapes, being sure to leave space between each colored area. The result will be a multicolored design with raised black lines between the color shapes, simulating stained glass.
7
Wrap your designed pieces of ArtEmboss pieces around the 3" chipboard covers.
8
Glue the designed covers to the rest of the page pieces by gluing squares to squares. If you want the book to be like an accordion book, hold one page all points upward and slip a square section to a page that has all of the points facing downward. Follow the same procedure until you have joined all the pieces together then glue joined square together. Next glue the end squares of the pages to the cover pieces. If desired, you may coat your finished book with Sax Multimedia Varnish for a gloss look.
9
Decorate the pages of your book. Let your imagination run wild! Suggestions:
- Use the metallic pencils to continue your cover designs into simple line designs throughout the pages.
- Cut shapes into the pages.
- Glue pop ups into the pages.