Close

A Twist on Tiffany
Lesson Plan, Grades 6-12, Art, Art History, Math, Chroma, Collage, Painting
Description
Lesson Plan & Artwork by Nadine Dresbach
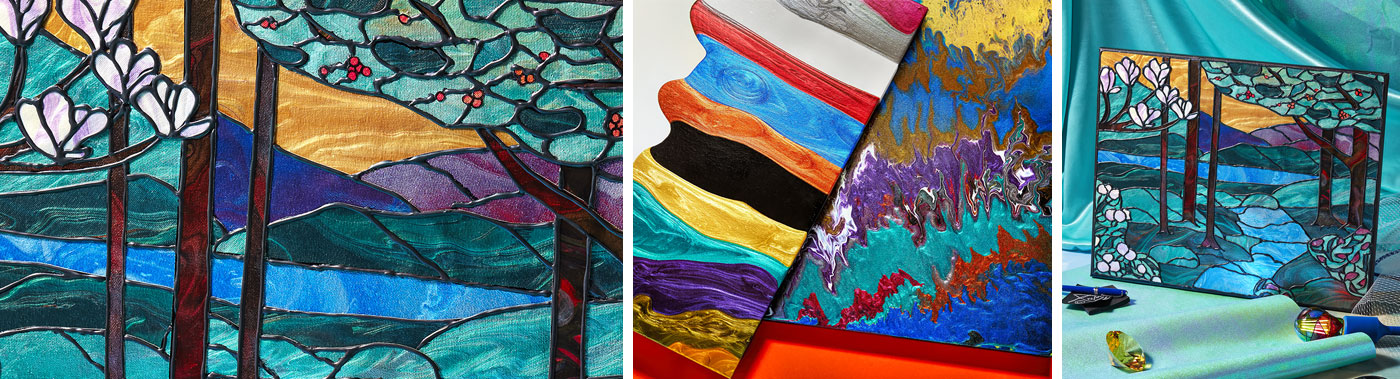
This lesson plan uses a combination of paint pouring and collage techniques to create a Tiffany Glass Company inspired image. Chroma Molten Metal Acrylic Paint and Sax Pouring Medium are used in combination to create shimmering effects of the swirling color variations found in handmade stained glass. The pieces are then stylized into shapes to assemble the final piece.
Objectives
- Research the stained glass window artwork, poured glass techniques, terminology, and history of Louis C. Tiffany.
- Research various paint pouring techniques and their terminology and experiment with those techniques to achieve the desired image effect.
- Utilize color studies, color mixing, math, gridding to scale, and the concepts of background middle and foreground to create their finished piece.
Supplies Needed
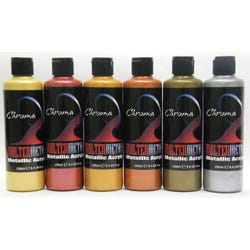
Things You May Also Need:Chroma® Molten Metals Acrylic Paint Set, Metallic Colors, 8 Ounces, Set of 4
Chroma® Molten Metals Acrylic Paint Set, Metallic Colors, 8 Ounces, Set of 6
Chromacryl® Acrylic Essentials, Pint, Black
Chromacryl® Acrylic Essentials, Pint, White
Sax® Genuine Primed Canvas Pad, 12 x 16”, White, 10 Sheets
Sax® True Flow® Pouring Medium, Gallon
Fredrix® Stretched Cotton Canvas, 16 x 20”, White, Pack of 3
Gallery Glass® Liquid Lead, Black, 8 Ounces
Aleene’s® Tacky® Adhesive Spray, 11 Ounces
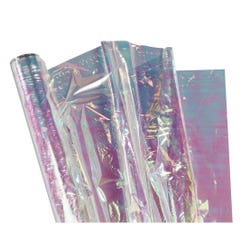
Creativity Street® Cellophane Roll, 36” x 12-1/2', Iridescent
*Here are the supplies needed for this lesson plan for reference. Find a convenient carousel of shoppable products for this lesson below.
Plastic Cups
Craft Sticks
Painters Tape
Standards
Standard #1: Generate and conceptualize artistic ideas and work.
Standard #5: Develop and refine artistic work for presentation.
Standard #11: Relate artistic ideas and works with societal, cultural and historical context to deepen understanding.
Instructions
1
Research: Louis C. Tiffany created many of his own styles of glass within the Tiffany Studios. One to note (due to the metallic acrylic we will be using) is Favrile Glass that has an iridescence to it which causes the surface to shimmer. Other Tiffany glass forms to research are opalescent, streamer, ripple, ring mottle, and drapery.
2
Research: Acrylic paint pouring techniques, such as cells, swipes, Dutch poor, air swipe, dirty pour, and string. Note how various pouring techniques have similarities to the stained glass that Tiffany created.
3
Have students select a window artwork of Tiffany Studios that inspires them. The piece used for this lesson plan was signed by Tiffany himself, circa 1915, and was created using Favrile glass.
4
Preparation: Have the student do a thorough analysis of the piece they are going to create, studying the combination of colors that are used to achieve each area within the stained glass. Keep in mind the total ratio of one color to another, to properly prepare.
5
Prepare the colors of Chroma Molten Metal Acrylic Paint needed, with the Sax Pouring Medium. The quantities needed are one-part paint to two-parts pouring medium and a splash of water (or two) to achieve the consistency of honey. Chroma paints are beautiful straight from the bottle, but your student will also want to tint and tone them as needed, using the white or black Chroma Essentials Acrylic in small quantities. Prepare all colors with the Sax Pouring Medium in separate cups.
6
Prepare canvas sheet surface by removing one sheet from the Sax Canvas Pad and use painter’s tape to adhere it to foam core (or thin wood) board an inch or two larger than the canvas. This will act as a support for the canvas sheet when pouring the prepared acrylic.
7
Using the researched paint pour method(s) of choice, have students create poured canvas sheets in all the desired colors and quantities needed to complete their final artwork. The piece used in this lesson plan example used a “dirty pour/flip cup” method with an occasional “swipe” to achieve the combinations desired. Some patterning on the finished canvas sheet will be more suitable than others, so a variety is optimal. These will take a few days to dry.
8
Prepare the Sax Stretched Canvas that will be used for the final collage “window” of the cut “glass” assemblage. It is very important that this canvas is in the same shape/ratio as the painting itself to successfully transfer the design over. Paint the edges black using Chroma black acrylic paint. Paint up onto the surface of the Sax Stretched Canvas a quarter of an inch to create a finished edge to your piece.
9
Start with a sheet of drawing paper the same size as the canvas. Grid: a photocopy of the artwork to transfer, the sheet of drawing paper, and the stretched canvas, all to the same ratio. The featured example used a 4 x 5 grid on a 16 x 20 canvas.
10
Transfer an outline drawing of the Tiffany inspired image onto the drawing paper. Do not transfer it to the canvas (the grid on that will help guide gluing later). As shapes are cut lay them out on the drawing paper (store it on top of stretched canvas between working sessions).
11
Layering is important here, pay close attention to background, middle, and foreground. The pieces in the background are all larger than visible on the final image, with other pieces laying on top of them.
12
When acrylic pour sheets are done, and the image has been transferred to the drawing paper, it is time to begin to cut the shapes of “glass” from the acrylic sheets.
13
Wax paper makes a great 2-part template. Place wax paper over the drawing and trace the intended “glass” shape with a Sharpie. Cut that shape out of the wax paper and set it aside. Use the negative shape remaining as a ‘viewfinder’ on the acrylic pour sheet to find just the right area of pattern and color to use for the “glass”. Next lay the positive shape of wax paper (the “glass” shape) back onto the center, remove the negative stencil and trace around the shape leaving about a quarter inch on all edges this gives some room for adjustment and trimming later. Cut out this shape.
14
Continue to trace and cut all remaining shapes from the paint poured canvas sheets to complete the window design, laying them out onto the drawing as completed.
15
It is now time to glue the “glass” pieces onto the prepared stretch canvas. Starting with the background elements, secure pieces on the canvas using Aleen’s tacky glue, making sure that the glue covers the edges of the shape. Glue shapes into place, allowing objects in front to layer over the background objects creating even more depth.
16
When the work is dry, lay out the “lead” design using a Sharpie. Complete outlines of larger shapes first, then focus in on detail outlines.
17
When complete, carefully trace over Sharpie lines, and the edge of the piece, using Gallery Glass Liquid Lead.
18
Display artwork to create a gallery of “Tiffany” inspired windows.