Close

3D Botanicals
Lesson Plan, Grades 6-12, Art, Science, 3-D, Painting
Description
Lesson Plan and Artwork by Mary Reilly
Botanicals are classified into two artistic forms - botanical art and botanical illustration. Both groups are botanically and scientifically accurate. Botanical art however offers the artist more freedom of expression and interpretation. The concept of drawing/illustrating botanicals dates to ancient Greece. It was not until the 18th and 19th century that this form of art became more realistic and flourished. Photography changed how flora is recorded. This lesson will allow students the opportunity to explore botanical art and create a three-dimensional interpretation all their own using Tara Canvas products.
Objectives
- Study and learn the difference between the art forms of Botanical Art and Botanical Illustration.
- Study live flowers to learn their structure and composition.
- Explore and manipulate canvas and canvas board to achieve a 3D Botanical.
Supplies Needed
Fredrix® Warp Resistant Canvas Panels, 14 x 18 in, Pack of 3
Fredrix® Natural Cotton Canvas Roll, 30 in x 3 Yards
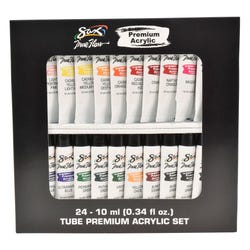
Sax® True Flow® Premium Acrylic, Assorted Colors, 0.34 Ounces, Set of 24
Sax® Bristilina White Konex Paint Brushes, Assorted Sizes, Blue, Set of 6
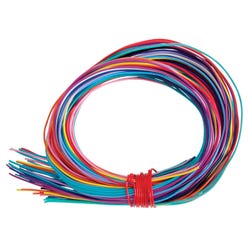
Twisteez Craft Wire, 125 ft, Assorted Color, Pack of 50
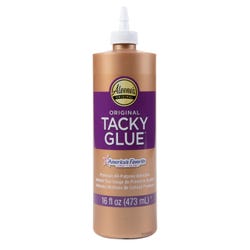
Aleene’s® Original Tacky Glue®, Pint, Dries Clear
Crayola® Model Magic® Non-Toxic Modeling Dough Set, 3 oz, White, Pack of 6
Standards
Standard #1: Generate and conceptualize artistic ideas and work.
Standard #4: Select, analyze and interpret artistic work for presentation.
Standard #7: Perceive and analyze artistic work.
Standard #11: Relate artistic ideas and works with societal, cultural and historical context to deepen understanding.
Instructions
1
Share with students both Botanical Art and Botanical Illustration. Expose students to artists like Pierre-Joseph Redonte (1766-1854), Anne Pratt (1806-1893) and Marianne North (1830-1890).
2
Have students research different types of flowers. This can be done through photos, internet searches or a visit to a local greenhouse. Flowers with simple parts work best like sunflowers, daisies, tulips, poppies and magnolias.
3
Students should select a flower for their artwork. Once selected students can begin to dissect the flower or flower image. It is a good idea to write down or photograph their findings. Ask them to pay close attention to the colors, shapes and numbers of the petals, pistils (center) and sepal (back) as well as the stem and leaves. Size and shapes of each part should also be recorded for reference.
4
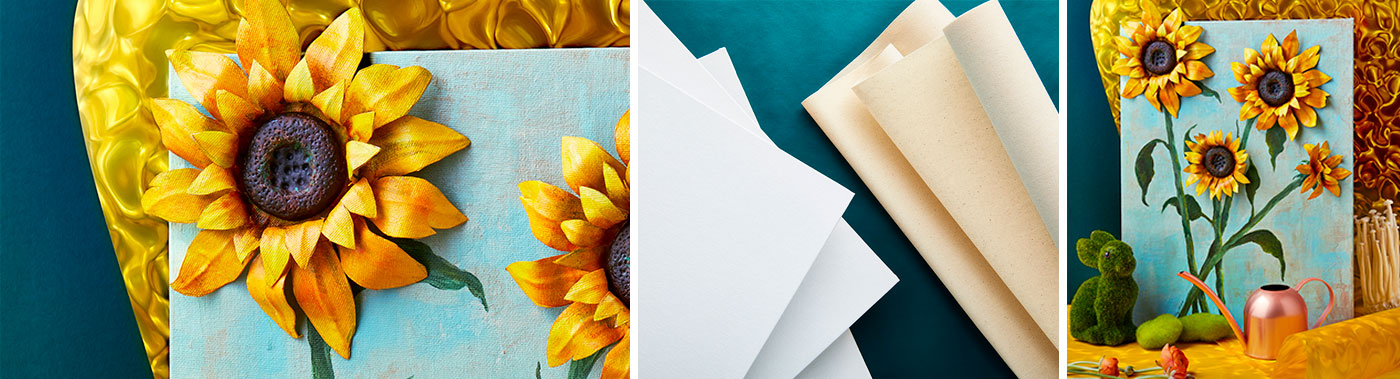
Have students create a pencil drawing on paper of their botanical art to determine size and placement for finished work. In this lesson the final painting was done on a 12 x 18-inch Fredrix Warp Resistant Canvas Panel. This size allows room for life size flowers, stems/branches, leaves, and buds.
5
After determining the flower size from their sketch, students will need to cut two paper circles. One to the diameter of the largest part of the flower and a second one about two inches smaller. These circles will be the base for the flower template. Next have students decide how large the pistil (center of flower) will be. Mark this with a circle in the center of each template. The petals can be drawn out from the edge of this center circle. Reference notes/photos to get the right shape and number of petals.
6
Using the flower template transfer the design to the gessoed side of the Fredrix Natural Primed Canvas. Mark this side as it will be the front of the flower. Cut out as many flower shapes as needed. For this lesson one large flower and one small flower was used to create the large sunflowers. The small sunflower and bud were made from the small flower template.
7
To make the flower bendable and dimensional students will use Twisteez, a plastic-coated craft wire. The Twisteez will be applied to the non-gessoed side of the flower with masking tape. Students will need to transfer the flower’s center circle to the non-gessoed side. Next student should cut Twisteez a quarter of an inch longer than the petals. Have students place Twisteez in the center of each petal with the extra length overlapping the center circle and tape down with masking tape. When this step is completed cover this surface completely with craft glue and top with light weight paper. Press down and around Twisteez and weigh down until dry. When completely dry cut around petal shapes. Gesso this paper back and allow to dry.
8
Paint your Fredrix Warp-Resistant Canvas Panel to complement your botanical artwork.
9
Use Model Magic to create the flower center (pistil). Refer to notes/photos to determine the design. Execute design and allow to dry. Paint the flower center when dry. When assembling the flower the pistil will be attached last.
10
Your flower is now ready to be painted. Paint all parts before attaching to canvas board. Use craft glue to attach to canvas board. Gluing in layers is best. Remember that the petals are now bendable so play with them to get the most realistic shapes on your board.
11
Make as many flowers as needed to complete your botanical artwork. Remember no two flowers are exactly alike. Paint stems and leaves in place.
12
Create a gallery of 3-D Botanical artwork and share.