Close


Relief Printmaking
Lesson Plan, Grades 5-12, Sax Lesson Plans, Art, Design Art History, Elmer's, Speedball
Description
Our visual world is rich in the use of shapes and color, both organic and those found in the man-made environment. When repeated, these design elements form the design principal of pattern. Patterns can be seen in wall paper, clothing, architecture, and nature. In preparation, students should discuss and point out patterns in their clothing, their environment, and in work of various artists.
Objectives
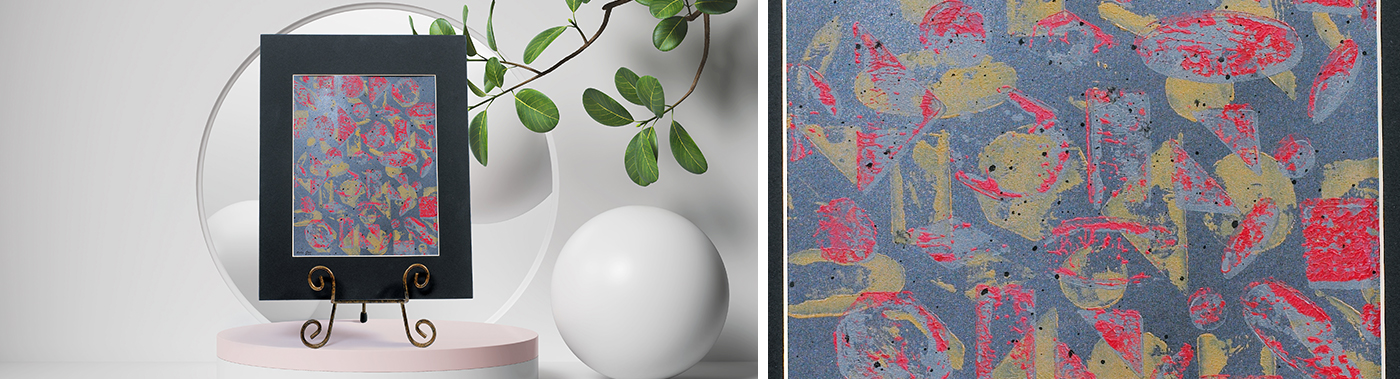
- Students will explore the design principle of pattern through the creation of a repeat shape relief print.
Supplies Needed
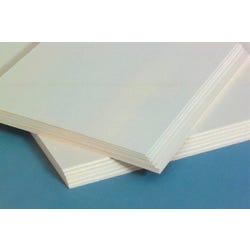
Flawboard 8"x10" Mat Board 408332
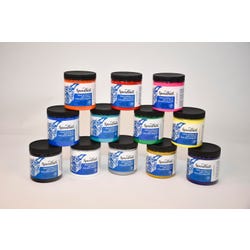
Speedball® Water Based Block Printing Ink, 12-Color Set 405965
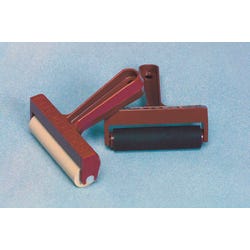
Speedball® Soft 4" Braye 407281
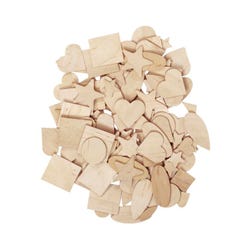
Assorted Wood Shape Set 223554
Elmers® Glue All, 4 oz (or) 1337116
Elmers® Craftbond 1366811
Royal Metallics Creative Collection Acid-Free Heavy Weight Card Stock, 65 lb, 8-1/2 X 11 in, Assorted Metallic Light Color, Pack of 40 409384
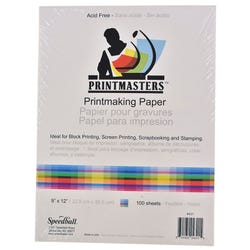
Speedball® Printmaster Pape 381080
Speedball® Red Baren 407267
Speedball® Pearlescent Base Mediu 1296382
Inking Tray 438953
Sax® Versatemp, Black 1367754 Liquitex® Free Style 1440686
Liquitex® FreeStyle Splatter Mural Brush, Round 1367754
Standards
CONTENT Standard #1: Understanding and applying media, techniques and processes.
CONTENT Standard #2: Using knowledge of structures and functions.
CONTENT Standard #3: Choosing and evaluating a range of subject matter, symbols and ideas.
Instructions
1
On a piece of mat board or heavy cardboard measuring 9"x12", sort and arrange flat wood shapes in various repeat shape patterns with careful attention to ensure no shapes are touching. Shapes should also not be too far apart.
2
Cover the whole ground sheet of mat board with wood shapes. A complex repeat design repeats in many directions: vertically, horizontally and diagonally. A unique design may be created by starting in the middle of the mat board and working out in a radial symmetrical design.
3
When you have created your most interesting design, you are ready to glue the shapes to the mat board one at a time.
4
Use dots of glue to adhere the wood shapes to the mat board. Elmers® Glue All, Craftbond, Wood Glue or School Glue will do the best job. Avoid using paste, glue sticks or rubber cement.
5
Once the composition is dry, it must be sealed to be used as a printing plate.
6
Mix any of the aforementioned glues with enough water to make it brushable.
7
Apply glue in various directions on your printing plate.
8
Put it in the sun or under a fan to dry.
9
Once dry, apply a second coat.
10
When the second coat is dry, in order to ink the plates successfully, plates need to be placed under some pressure to prevent curling.
11
When you are ready to print, choose your paper and have it near the printing area. Special care must be taken to keep hands and paper clean when relief printing.
12
Apply about two teaspoons of ink to a slick non-absorbent surface.
13
Using a Speedball® water-based block printing ink and a brayer, ink the plate by rolling the brayer over the ink, back and forth, until the ink gets sticky. You can see when it is ready when you see little peaks of ink on the brayer surface, or by listening to the ink on the plate... it talks to you with faint cracking noises when it is ready to roll onto the printing plate. Sometimes it is good to quickly re-ink the brayer and roll in another direction.
14
Carefully place the printing paper you have set aside on top of the inked printing plate, and press hard in a rubbing motion with a clean unlinked brayer, pressing the ink from the raised wood shapes onto the paper.
15
Carefully pull the paper print off the plate and place on a drying rack or in an area to dry.
16
Plate may be re-inked to pull more prints. Experiment with various color combinations.
17
Plate may be gently cleaned with a small sponge scrubber and water.
18
Dry the plate before changing ink colors.
19
Interesting visual textures and colors may be created by using different color combinations, printing the same plate slightly off register, upside down... or even sharing plates with classmates to complexify the print.
20
Once dry, thinned black or gray tempera paint may add interesting visual texture with the sparing use of a splatter brush.