Close


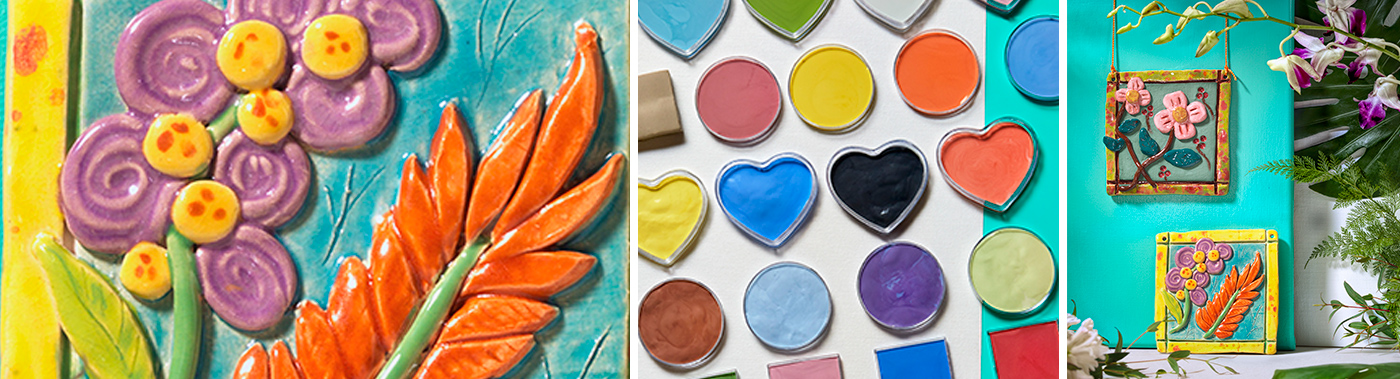
Nature Relief Tile
Lesson Plan, Grades 5-12, Science, Art, Math, Sax, Ceramics & Sculptures, 3-D
Description
Lesson Plan and Artwork by Eric Orr
Throughout history, handmade ceramic tiles have served as decorative and functional elements in, and on, buildings. Tiles made of clay were widely used in Roman and Middle Eastern cultures as architectural elements. They were not only glazed, but often had parts raised, lowered, or carved into the tile surface. This is called “relief” sculpture. In this lesson, students will create a handmade relief ceramic tile.
Objectives
- Create a relief clay tile from a simple design.
- Create multiple layers with the tile by carving into the surface, as well as adding clay shapes and linear aspects in the process of crafting a relief tile.
- Learn to fire and glaze the ceramic tiles.
Supplies Needed
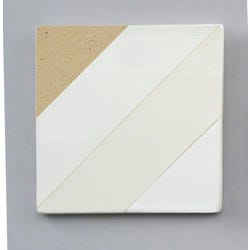
Sax® Low Fire Earthenware White Art Clay, 50 lbs (Pictured)
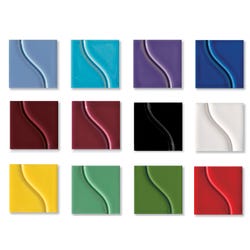
Sax® True Flow® Gloss Glazes, Pint, Set of 12 (Pictured)
Sax® Genuine Canvas Pads, 18 x 24 in, Each (Pictured)
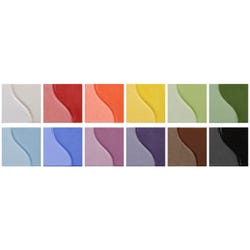
Sax® True Flow® Underglazes, Pint, Set of 12 (Pictured)
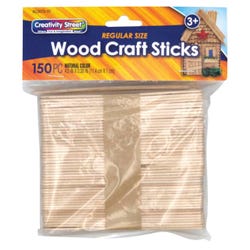
Creativity Street® Regular Craft Sticks, Pack of 150
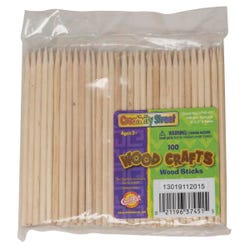
Creativity Street® Stylus Sticks, Pack of 100
Hardwood Clay Roller, 10-1/2 x 18 in, Each
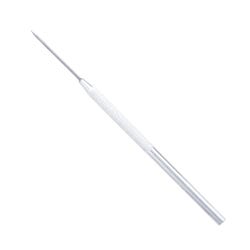
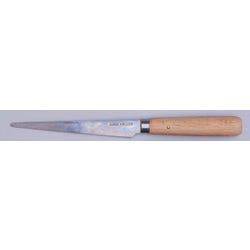
Kemper Fettling Knife
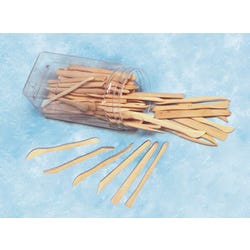
Jack Richeson™ Boxwood Modeling Tools Set of 72
Jack Richeson™ Pro Needle Tool, Each
Standards
Standard #1: Generate and conceptualize artistic ideas and work.
Standard #2: Organize and develop artistic ideas and work.
Standard #3: Refine and complete artistic work.
Standard #4: Select, analyze and interpret artistic work for presentation.
Standard #7: Perceive and analyze artistic work.
Standard #11: Relate artistic ideas and works with societal, cultural and historical context to deepen understanding.
Instructions
1
Draw several sketches, the size of the tile. Choose the one that will allow raised, as well as carved-in areas.
2
Roll out a 2 lb. slab of clay to 3/8” thick or thicker
3
Using a ruler, square or paper template, cut out the shape of the tile with a fettling knife. Tile does NOT have to be square.
4
Smooth the tile surface and edges.
5
Lay the drawing on the tile face. Go over all lines with a ball point pen. Make sure lines are transferring into the clay tile surface.
6
Plan which areas will remain the tile surface, which will be carved into the surface, and where to build upon the surface by adding clay.
7
Using a loop tool (Hint: a paper clip will do), carve away the areas desired below the surface.
8
Cut, texture, and/or lay shapes to add to the surface. Rolled small worms or clay coils may add a linear effect. Be sure to score and slip all additions.
9
Check the overall composition and smooth all rough clay areas.
10
During the construction phase, be sure to keep plastic over the tile and spritz it to keep clay surface moist and workable.
11
When tile is complete, sign the piece. Does it need “hangey holes”? Dry it slowly on a small board or sheetrock, between newspaper sheets and add a bit of weight to keep it from warping.
12
When bone dry, fire it to Cone 04 (1,945 degrees F). Then glaze with the selected choice of Sax glaze, 2-3 coats.
13
Glaze fire to Cone 06, (1,833 degrees F).
14
Have a class critique or self evaluation.