Close


Hand Woven Commuter Bag
Lesson Plan, Grades 6-12, Art, Math, Jack Richeson, Textile Arts
Description
Lesson Plan and Artwork by Mary Reilly
The art of weaving dates to Neolithic times. Every culture has a unique style of weaving depending on their needs and the raw materials available. In this lesson students will use plain weaving on a card loom with hand designed cotton weft threads to create a commuter bag to hold today’s electronic devices.
Objectives
- Learn the art of weaving on both sides of a card loom.
- Pattern fabric using rubbing plates and oil sticks and fashion into weft threads.
- Create a commuter bag using a card loom and handmade weft threads.
Supplies Needed
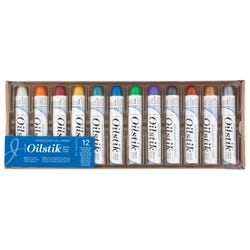
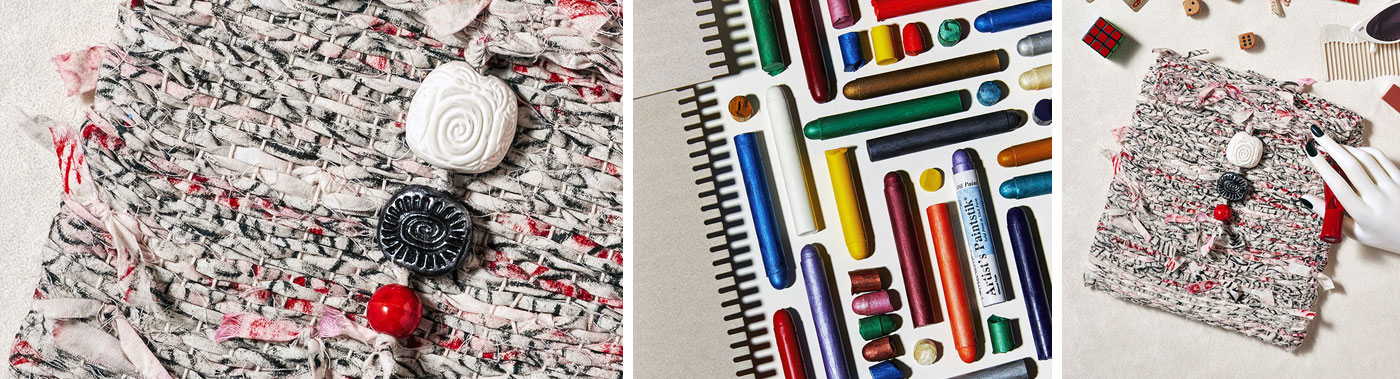
Shiva® Artist's Paintstik® Oil Color Set, Assorted Iridescent Colors, Set of 12
Shiva® Artist's Paintstik® Professional Grade Oil Color Set, Asssorted Colors, Set of 12
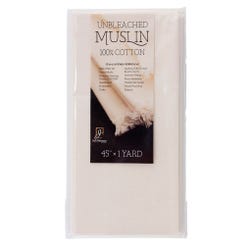
Jack Richeson™ Unbleached Muslin, 45 Inches x 1 Yard
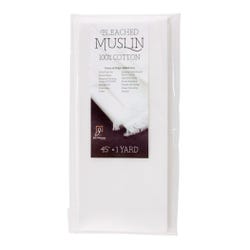
Jack Richeson™ Bleached Muslin, 45 Inches x 1 Yard
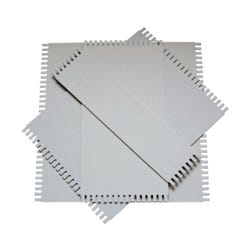
Jack Richeson™ Wide Notched Student Weaving Loom, Assorted Sizes, Gray, Pack of 20
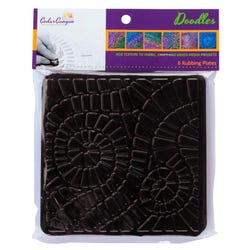
Jack Richeson™ Doodles Rubbing Plate Set, 7 x 7 Inches, Set of 6
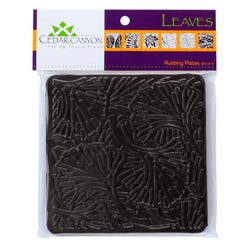
Jack Richeson™ Leaves Rubbing Plate, 7 x 7 Inches, Set of 6
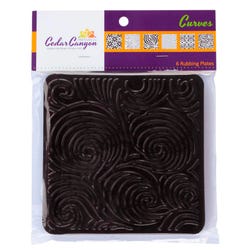
Jack Richeson™ Curves Rubbing Plate, 7 x 7 Inches, Set of 6
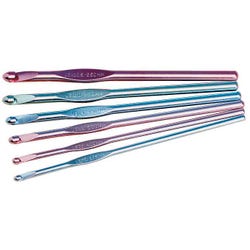
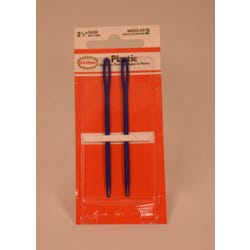
Colonial Needle Plastic Lucite Jumbo Eye Yarn Needle, 2-3/4 Inches, Pack of 2
Susan Bates® Silvalume® Aluminum Crochet Hooks, Assorted Size, Set of 6
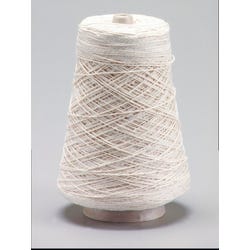
Creativity Street® Cotton 4-Ply Heavy Warp Yarn Cone, 800 yd, Natural Creamy White
*Here are the supplies needed for this lesson plan for reference. Find a convenient carousel of shoppable products for this lesson below.
Standards
Standard #1: Generate and conceptualize artistic ideas and work.
Standard #2: Organize and develop artistic ideas and work.
Standard #7: Perceive and analyze artistic work.
Standard #10: Synthesize and relate knowledge and personal experiences to make art.
Instructions
1
Students will select the size card loom needed to fit their tablet or phone. The 13 x 9.75 card loom is the perfect size for an iPad. Once selected note that the top and bottom of the loom have teeth/notches. These notches act as heddles keeping the warp separated and secure. Select the warp material. Cotton warp is preferred as it is strong and will hold its shape. Cotton warp can be used in its natural state or colored with dye or liquid watercolor.
2
The way you warp the loom with threads on both sides will create a pocket for a tablet or phone. The pocket with be closed at the bottom and opened at the top. When starting to warp the card loom keep in mind that you need to end up with an odd number of threads on the front and an even number on the back to create the perfect pocket. Mark the front and the back of the loom so you know which side you are working on.
3
Warping the Loom - Tape warp thread about three inches up from the bottom of the loom on the front. Take the warp thread between the first two notches on the bottom of the loom, then travel up the back side of the loom to the second notch on the top, wrap the warp thread around the front side of the second notch and return on the back side to the bottom going between the notches and returning on the front side, wrapping warp around the back side of the next notch on the top of the loom, returning on the front side of the loom going between the notch on the bottom. Travel back to the top and wrap the warp around the front of the notch, returning down the back of the loom. Continue this warping pattern across the loom. On the top every other notch will have warp wrapped on the front side and on the back side. The bottom notches only have warp threads between them. When you pull the commuter bag off the loom the wrapped warp at the top of the bag will create a finished opening. Set aside.
4
Creating the Weft Thread – To create the weft thread for your project you will need one yard of fabric (I used unbleached muslin). One yard is enough to make a 13 x 9.75” bag. You can also use a solid colored fabric. Wash to remove sizing and press. I used Shiva Oil Sticks and Jack Richeson Rubbing Plates to create surface patterns on my base fabric. Select two different rubbing plates. Start at the top of the fabric, line up the rubbing plate with the top and side edge of the fabric. Choose the colors of Shiva Oil sticks you want to use. I would start with two colors. You can use classic or metallic colors or a combination of both. You want bold or contrasting colors when using colored fabric, the design will show better. Once the plate is in place gently rub one oil stick over the fabric area covering the rubbing plate. Move the plate over and continue to rub moving and rubbing across the top of the fabric. You have one row done. Now, move back to the area below your first rubbing and start the process again until the entire fabric is covered with one layer of rubbings. You can now use the same plate, parts of it or another plate to add a second color.
5
Once you are satisfied with your overall design (remember we are going to cut these into strips). it will need to dry. Your fabric will need to dry for 3 to 5 days. After drying to make the color permanent the fabric will need to be pressed per manufacturer’s directions.
6
The fabric can now be cut into strips, a 1/2-inch strip works best. These can be cut by hand or with a rotary cutter, ruler and cutting board. You want to cut across the fabric from salvage edge to salvage edge. These strips can be tied together. I recommend tying two together at a time. If the strips are longer it is very hard to weave with all the knots. Speaking of knots, they can become part of the design or tucked under to give a smoother appearance.
7
Select a metal weaving needle long or short. A weaving needle has a large eye and you can easily thread your fabric weft strips through it. Think of this needle as your shuttle, the tool used by weavers to move their threads through the warp to create fabric.
8
To begin weaving start at the bottom, pick a middle warp thread, and secure the first fabric weft thread to the warp by tying it to the selected wrap thread. Then start to weave going over and under each warp thread on both sides of the board. When you get to the end of weaving this first weft thread you can add another thread using a square knot. Once you have woven about two inches take both hands and push the fabric wefts toward the bottom of the card loom. This will allow you to create a tightly woven fabric. Proceed with weaving, tying, and pushing until you get within 3 inches of the top of the card loom.
9
To create the flap stop weaving on the front of the loom and continue to weave only on the back of the loom creating the flap that goes over the top of the bag. Weave to the top of the back until you cannot squeeze in anymore fabric weft threads. Always make sure throughout the project that you push down the fabric weft threads every two to three inches. They will pack down easily. Also use caution when weaving the flap – do not pull too hard on the fabric weft threads as you weave. This can cause the flap to shrink in size.
10
Once complete you will start the removal stage. To create the pocket, remove the warp threads one at a time by pushing down the cardboard loom notches at the top of the loom and gently removing (slide off) the warp threads. The cardboard loom can gently be removed at this time. The threads for the back piece will be absorbed into the woven piece. The threads on the front side will be loose and will have to be cut and knotted next to the woven edge of the front piece. These warp threads can then be woven back into the piece using a weaving needle or a crochet hook.
11
You can now make a liner for the commuter bags out of a ½ yard of fabric. Cut two pieces the size of the bag pouch. Then cut one-piece half the size of the bag pouch (this will make the pockets for cords and phone). Finish off the top edge of the half size piece by hand or machine. Pin to one side of lining and top with the second whole piece, sew together on three sides, leaving an opening at the top. Turn inside out and place inside the commuter bag, pin down at the top edge of bag pouch and sew in place by hand.
12
The commuter pouch flap can now be embellished with beads or buttons. These can be made by hand or purchased.