Close


Graphic Patterns
Lesson Plan, Grades 6-12, Art, Math, History, Drawing
Description
Lesson Plan and Artwork by Annette Johnson
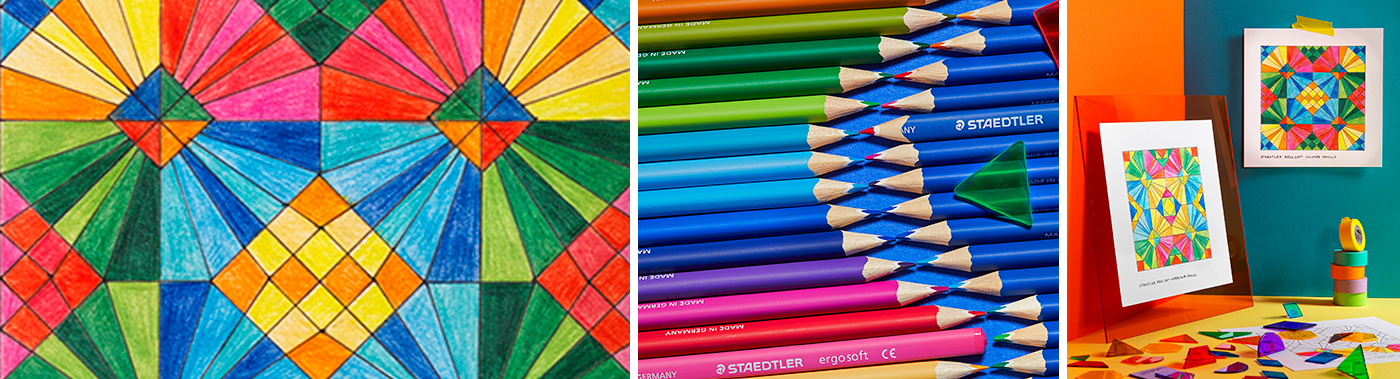
Patterns are a fundamental concept in both art and Mathematics. Math plays a key roll in determining proportion, symmetry and shape of the pattern. Students will create graphic patterns using a pencil, ruler and cross - section paper. The final design will be traced on a light box, using a Staedtler Black Pigment Liner. Staedtler Ergo Soft Colored and Watercolor pencils will be used to enhance the final pattern.
Objectives
- Study geometric quilt patterns, geometric floor tiles, textiles, Persian rugs, Islamic patterns, Morroccan tiles, Moorish tiles. These will be used to develop an original graphic pattern.
- Study the tiles of the Alhambra DeGranada at www.AlhambraDegranada.Org
- Study artists who use pattern in their work: Escher, Mondrian, Klimt, Klee, and Calder. Use these artist as inspiration to create your own pattern.
Supplies Needed
Staedtler® ErgoSoft Colored Pencils, Set of 24
Staedtler® ErgoSoft Watercolor Colored Pencils, Set of 24
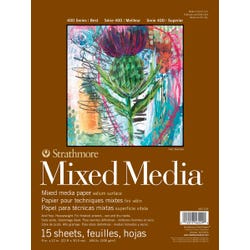
Strathmore® Mixed Media Pad 184 lb, 9 x 12 in, 15 Sheets
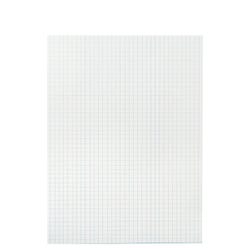
School Smart® 1/4 in Grid White Drawing Paper, 9 x 12 in, Ream
Standards
Standard #1: Generate and conceptualize artistic ideas and work.
Standard #5: Develop and refine artistic work for presentation.
Standard #8: Interpret intent and meaning in artistic work.
Standard #11: Relate artistic ideas and works with societal, cultural and historical context to deepen understanding.
Instructions
1
Draw squares measuring: 1”, 1-1/2”, 2”, 3” and 4” on several pieces of the cross-section paper.
2
Draw inside the outlined squares, connecting the grids within the squares to create new patterns.
3
Connect the 1/4” squares horizontally, vertically, diagonally and in combination to create a variety of patterns.
4
Use the larger size squares to create more patterning within the squares. Draw squares, triangles, horizontal and vertical lines to interconnect these shapes inside to form new patterns.
5
Continue subdividing squares until enough has been created to choose your favorite block.
6
Draw 3 additional images of the pattern chosen. Cut these squares out and place them in a new shape. Change the direction of the squares until you have the pattern you like the best. Tape together.
7
After connecting the final image with the 4 identical squares, adjust how the four squares intersect by adding another shape.
8
Use a light box or a bright window to tape the final pattern down, place the Multi-Media paper on top. Trace the pattern using a ruler and the Staedtler Permanent Pigment Marker.
9
Use Staedtler Ergo Soft Colored Pencils and Staedtler Ergo Soft Watercolor Pencils to finish the piece.