Close


Elements & Principles Under the Sea
Lesson Plan, Grades 4-9, Art, Science, Collage, Mixed Media
Description
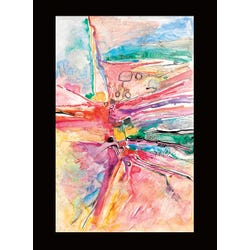
Lesson Plan and Artwork by Nadine Dresbach
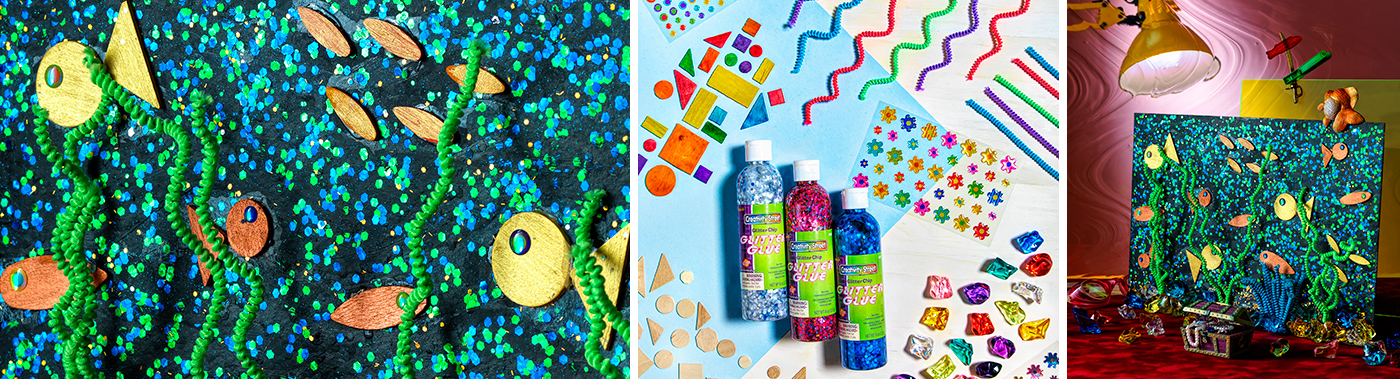
In this lesson students will use a wide variety of fun two- and three-dimensional materials to create an underwater environment while focusing strongly on elements and principles of design. The combination of material elements in the piece allows students to create artwork with a strong sense of movement, pattern, texture, space, and contrast, as well as other elements and principles.
Objectives
- Study underwater imagery, its shapes and forms, and relate them to the art materials they have before them.
- Study the elements and principles of design and conceptualize how these will relate to their art piece.
- Take care in designing the layout of the objects within their artwork so that their art piece will have a strong sense of movement and other elements and principles.
Supplies Needed
Creativity Street® Geometric I Wood Shapes, Set of 1000
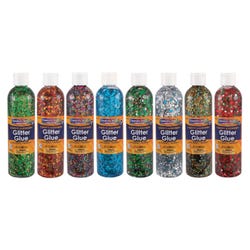
Creativity Street® Washable Glitter Glue, 8 oz, Set of 8
Creativity Street® Peel & Stick Gemstone, Set of 271
Creativity Street® Assorted Acrylic Stones, 1 lb
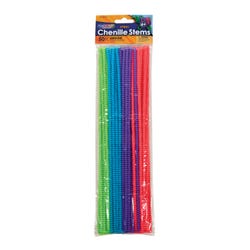
Creativity Street® Spiral Stems, 12 in, Set of 50
Creativity Street® Colored Wood Shapes, Basic Shapes, Set of 200
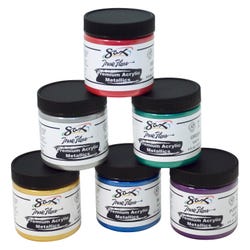
Sax® True Flow® Premium Heavy-Bodied Acrylic Metallics, 4 oz, Set of 6
Crescent® 8 Ultra Black™ Mounting Board 10 x 15 in, Pack of 15
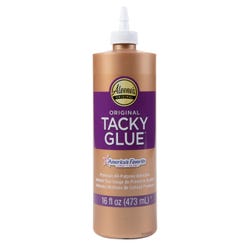
Aleene’s® Thick Designer Tacky Glue 8 oz
Standards
Standard #1: Generate and conceptualize artistic ideas and work.
Standard #2: Organize and develop artistic ideas and work.
Standard #3: Refine and complete artistic work.
Standard #7: Perceive and analyze artistic work.
Standard #9: Apply criteria to evaluate artistic work.
Instructions
1
Examine existing images of underwater environments and identify elements and principles of design within them.
2
Examine a variety of Creativity Street materials listed in the lesson; have them spend some time manipulating those materials to determine what kind of underwater scenery they would like to create. No glue yet!
3
Use the Creativity Street Glitter Chip Glue to create background coverage on the black mounting board (Hint: a brush may be used but little fingers work better – and they use less product). Allow to dry. (Hint: if the board tends to curl slightly when it is dry the boards may be stacked and placed under something heavy or the back of the board may be coated with any kind of paint or varnish to “counter” the curl)
4
The next step is the sea life. Using the Creativity Street Geometric Woodsies and/or the Basic Wood Shapes colored set, examine them and see which ones would symbolize what types of fish or how to put pieces of the geometric shapes to together to create the sea life they are trying to design.
5
Lay the wooden pieces out throughout their board having them determine which direction the sea life would be traveling and at what angles and positions in order to really emphasize the elements and principles of design, truly focusing on the ones of movement, repetition and space. No glue yet!
6
Next add color, bringing in the idea of contrast. Then determine which sea life will be painted which colors. Have students very carefully coat one side of the Creativity Street Geometric Woodsies and their edges with the acrylic paint. Allow to dry.
7
Once all the sea life is dried, adhere them to the board using Aleene’s Tacky Glue and embellishments may be added using Creativity Street Peel and Stick Gemstones.
8
The next step is the ocean floor and other added elements such as seaweed, anemone, coral and stones along the floor using Creativity Street Acrylic Stones and Creativity Street Spiral Chenille Stems. These can be adhered with the Aleene’s Permanent Designer Tacky Glue to provide a strong bond. Allow to dry overnight.
9
Exhibit all the student’s pieces together and have the students discuss which elements and principles of design were most successful in each piece.