Close


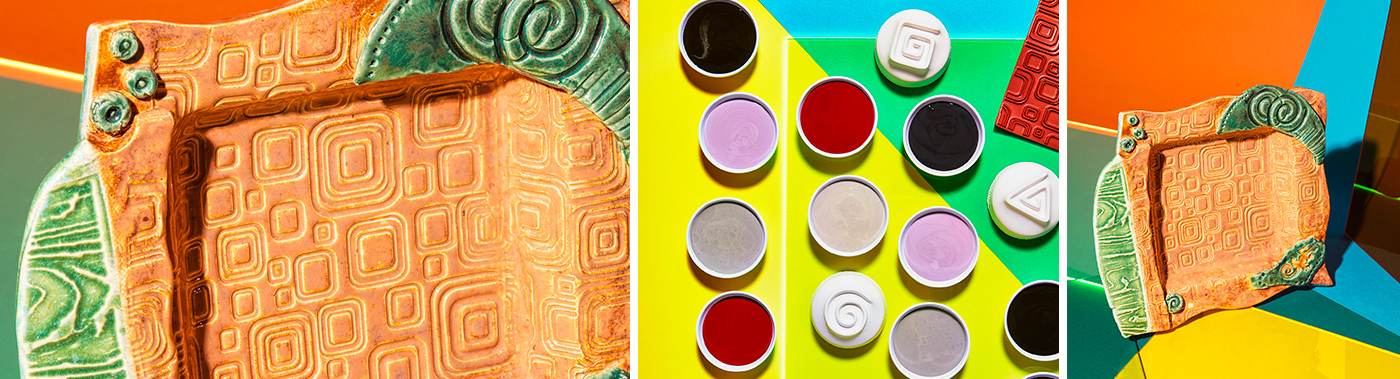
Elemental Textured Plates
Lesson Plan, Grades 6-12, Art, Science, Ceramics & Sculptures, 3-D
Description
Lesson Plan and Artwork by Eric Orr
Mayco plaster slump and hump molds are an easy way to create functional ware. This lesson uses plaster molds that fit together. Mayco designer texture mats allow the student to texture both sides of a slab of clay at one time. Be sure to never wash plaster molds as they will take weeks to dry. Dry them with a cloth.
Objectives
- Create a shallow functional dish utilizing a plaster slump and hump mold.
- Texture and create unique designs and details using stamps and hand applied clay elements.
- Plan a unified design and make color choices for the glaze using Mayco Elements to achieve a mature stoneware look.
Supplies Needed
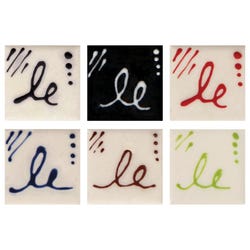
Mayco® Designer Liner, 1.25 oz, Set of 6
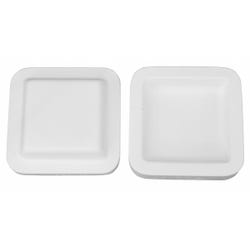
Mayco® Slump & Hump Mold, Square, Each
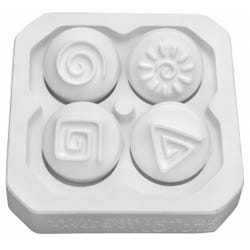
Mayco® Design Press Tools, Spiral Design, Set of 4
Mayco® Designer Texture Mat, Retro Squares, Each
Mayco® Designer Texture Mat, Wood Grain, Each
Mayco® Elements™ Glazes, Pint, Set of 12
Sax® Genuine Canvas Pads, 18 x 24 in, Each
Hardwood Clay Roller, 10-1/2 x 18 in, Each
Jack Richeson™ Pro Needle Tool, Each
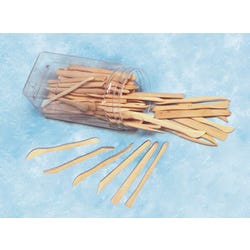
Jack Richeson™ Boxwood Modeling Tools Set of 72
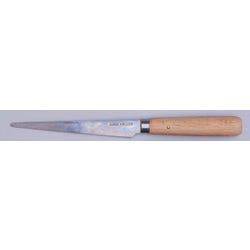
Kemper Fettling Knife
Standards
Standard #1: Generate and conceptualize artistic ideas and work.
Standard #2: Organize and develop artistic ideas and work.
Standard #3: Refine and complete artistic work.
Standard #4: Select, analyze and interpret artistic work for presentation.
Standard #7: Perceive and analyze artistic work.
Standard #9: Apply criteria to evaluate artistic work.
Standard #10: Synthesize and relate knowledge and personal experiences to make art.
Standard #11: Relate artistic ideas and works with societal, cultural and historical context to deepen understanding.
Instructions
1
Wedge 2-3 lbs of Sax White Art Clay and roll it to a 3/16” or 1⁄4” slab on to the Sax Canvas Pad. Make the slab square or rectangular depending on which Mayco Slump/Hump mold is being used.
2
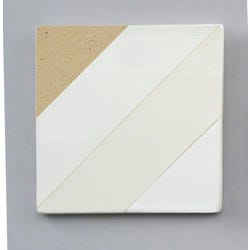
Place Mayco designer texture mats under, and on top of, slab. Roll firmly with a rolling pin to create textures on both sides.
3
Gently place slab into the recessed half of Mayco Slump & Hump Mold. Place the humped half of mold onto slab and gently press to make slab conform to mold.
4
Remove humped half of mold. Using wooden or rubber tools only (metal will cut the plaster) trim the outside excess from your plate form (it does not have to conform to mold shape).
5
Decorate the plate with Mayco Design Press tools or rolled textures and other clay shapes. Be sure to score and slip.
6
Remove plate from the recessed mold and dry slowly with plastic covering, then place on newspaper or a small board. Bisque fire it when totally dry to Cone 04 (1,945 degrees F).
7
For glazing use Mayco Elements Glazes. Shake the product for 5-6 seconds before use. Pour needed amount onto plate (as to not contaminate the jar).
8
Apply 3-4 coats using a broad soft brush or fan brush. Moisten the brush with water then saturate with glaze.
9
Apply glaze across piece in one direction. Allow glaze to dry between coats. When the wet look is gone, apply second coat of glaze in one direction. Allow to dry. Repeat.
10
Once the glaze has dried thoroughly, fire at cone 06.